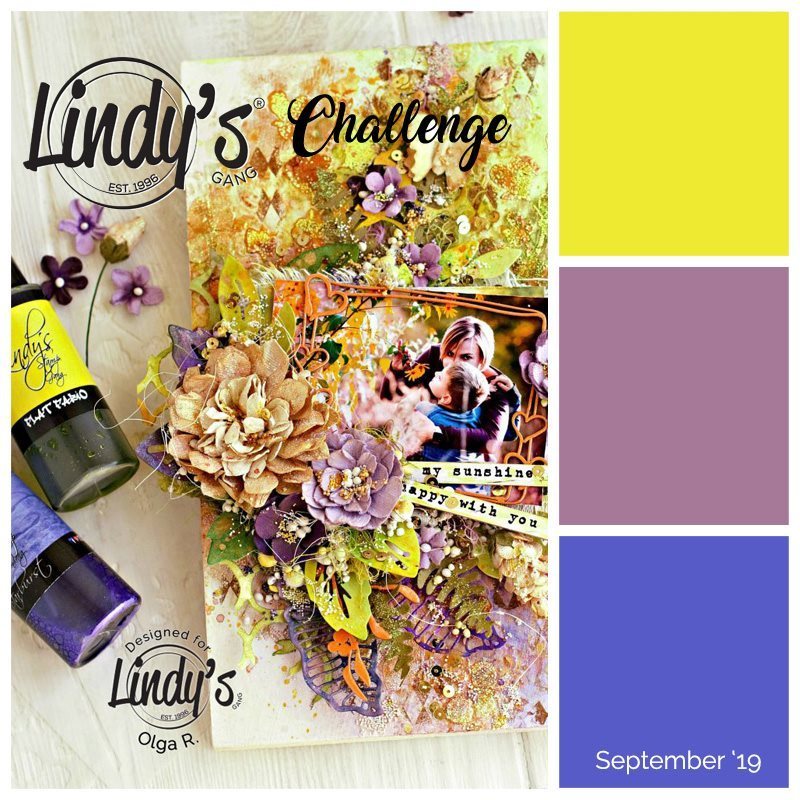
mardi 3 septembre 2019

Origins MTW challenge

This month we have a really challenging one at More than words


Be inspired by the word Origins and use the creative twist Country colors to join! 

Caroline: When I thought about the word ORIGINS, I thought about the origin of life. This picture of my pregnant belly, almost 7 years ago, was obviously representing my idea of the challenge. For the COUNTRY COLOURS I chose blue as it represents my Canadian province of Quebec.


September combo at Lindy's

The September challenge is live at Lindy's and you can join over our FB fan page here


I used the following Lindy's products

mardi 13 août 2019

Lindy's ombré

Hi all!
Caroline here on the Lindy’s blog today to play with Lindy’s sprays and show you this great idea! I tried a super fun and easy technique to make gorgeous ombre look. If you struggle with blending inks together I have the solution for you!
IMG_3446
First, I cut some watercolor paper stripes about 2 inches by 9 inches. I took 3 sprays that would make a nice ombre look when used together. I picked Starburst Hydrangea blueFlat Fabio Ocean breeze blue and Starburst Shabby turbine teal.
IMG_3438
I used a palette because I wanted to play easily with a large flat brush. With 1 color I made 2 stripes. The first one was the pure color with an “almost dry” brush. The second stripe was made with a “very wet” brush and just a bit of the same color. Adding water to a color to dilute it, makes beautiful gradients tones.
IMG_3447 (1)
I let the colored strips air dry and I put them beside each other to obtain a nice ombre look. I glued them as I wanted them on an 8″x8″ scrap piece of paper.
IMG_3439
I took my sewing machine out of the closet and I sewed all around my collage. I also sewed all the stripes horizontally. I added a couple of spatters in the corner where I wanted to put my picture.
IMG_3440
Here it is, I had a beautiful background completely handmade!
I just had to put some embellishments here and there in a cluster because I like it, around my picture and in the upper corner.
IMG_3445
Zoom in on the details below.
IMG_3444
IMG_3443
That’s it for today, there are so many easy ways to play with those fabulous sprays! Don’t hesitate to ask questions over our Facebook group Lindy’s creative gang!
Lindy’s products used: 
Others: Watercolor paper: Strathmore, Diecuts: Les créations Edith Cloutier, Badges: Scrap aux Puces

mercredi 17 juillet 2019

Quick card for beginners

Hi lovelies!
Caroline here today to play with you! Together we’re gonna make a simple card perfect for beginners or when you need a card quick! I don’t like making cards very much so I never make any in advance, then when I realize that I need one, I am always in a hurry!
We will play with sprays and embossing powders today. I chose 3 coordinated sprays to make my background so I would have a nice color blend. If you choose opposite colors on the color wheel (eg red and green), you might get a brownish blend so take care of the colors you pick!
IMG_2592
Let’s start!
I say it often but it’s very worthy, use a good quality watercolor paper! I use a Strathmore paper and I’m never disappointed! I used Flat Fabio T-bird turquoiseStarburst Sassy Sapphire and Starburst Delphinium Turquoise to make my background.
I began by adding the lighter shade to the paper using a watercolor brush and then went over with the next color. Put each color next to the other or just a bit overlapping, to make them blend nicely.
IMG_2456
I added just a spray of water over both colors to help them blend.
IMG_2457
While the sprays are still wet, I made a couple of splatters with my brush and the darker shade.
IMG_2458
Let this air dry for a beautiful blended result. You can see how gorgeous the blue shimmer is!
IMG_2459
While your background is air drying, continue on a scrap piece of watercolor paper. I used Obviously black embossing powder to stamp a beautiful flower (the set drawn by my co Lindy’s DT member Valerie).
IMG_2460
I used colored it with T-bird turquoise.
IMG_2461
When almost dry, I went over with just a touch of Sassy Sapphire.
IMG_2462
For the foliage, I used Starburst Lucky Shamrock green.
IMG_2463
Once the flower is dry, simply fussy cut it and glue with 3D foam over your background after stamping a quote.
IMG_2464
You only have now to glue this beautiful background over a coordinating cardstock and VOILÀ! You have a gorgeous simple card! You can work many at the same time and stamp them only when needed. With this process, you will obtain a lot of cards in advance for many occasions!
IMG_2594

Lindy’s Products

Other Products
  • Watercolor paper: Strathmore, Cardstock: Bazzill, Stamps: Designed by Valerie, Altenew

Thank you for being there and I hope I have inspired you!

jeudi 20 juin 2019

Ocean layout with Lindy's

Hi Lindy’s fans!
Caroline here today to share with you a complete step by step tutorial to make a gorgeous layout using Lindy’s Magical shakers and sprays.
I used some blues and greens sparkling shades to make an ocean theme layout.
IMG_2008
As usual I started with a thin coat of clear gesso over my patterned paper. This is an important step to protect your paper if you want to play with inks after. The results will be way more beautiful if you use clear gesso, believe me!
Once dry, I used paper paste over a stencil.
IMG_2026
IMG_2027
When the paste was still wet, I sprinkled some Time travel teal magical shaker over it. The humidity of the paste started to make the powder react.
IMG_2025
Then, I added just a gentle mist of water to help the powder activate. Don’t use too much, your paste is still wet!
IMG_2024IMG_2023
I let it dry completely and then went over it with a wet brush to add more color where I wanted.
IMG_2022
I set it aside and started to color my embellishments to match my layout.
I used Time travel teal spray over 1 of a 2 parts chipboard.
IMG_2021
Over the 2nd chipboard I used Afternoon delight denim, I just love those shimmers!
IMG_2020
I colored some leaves with Lucky shamrock green spray.
IMG_2016
For the little seashells, I wanted 2 different tones look. I used Time travel teal magical shaker and Afternoon delight denim magical shakers too. They are perfectly coordinated with the sprays!
IMG_2019
I sprayed some water to activate the pigment and I thought it was a little bit too flashy! I used Frozen jack frost to make them look a bit softer.
IMG_2017
Then I layered all the embellishments with mesh, flowers and badges to have a beautiful layout.
IMG_2009
Zoom on all the details.
IMG_2013
IMG_2012
IMG_2010
IMG_2011
Thank you for being there and see you soon for another tutorial!
Lindy’s Products
Others: Papers: 7 dots studios, Flowers: 49 and market, Stencil: Tim Holtz, Mediums: Prima, Badges: Scrap aux puces, Chipboards: Wychianka, Snipart